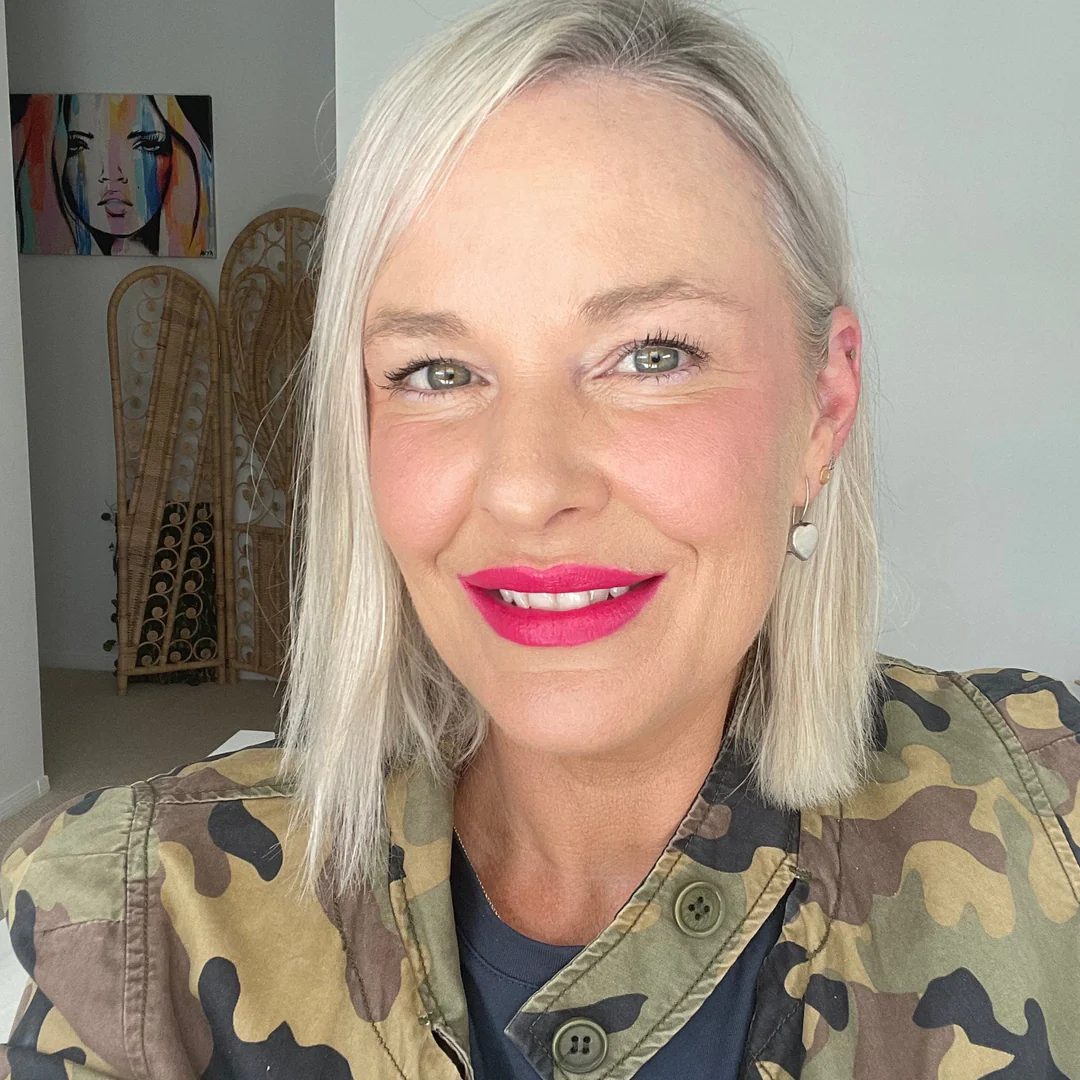
Bright lips made easy
- Amanda Ramsay

- Sep 19, 2023
- 4 min read

We all need a go-to show-stopping look, that makes us look and feel fancy (and a whole lot less tired!) with minimal effort. Say hello to bright lips!
There is something about a bright lippy that puts a spring in my step, no matter where I'm off to. And if you haven't rocked a bright, vibrant or strong lip yet – don't be scared. I'm gonna walk you through bright lips in five simple steps. I promise, you'll never look back!
Here I've used a classic red lipstick, but if you fancy mixing it up a bit, you could swap the red lippy for a gorgeous bright coral, pink, fuschia or orange lipstick. Read on for my favourite alternative shades.
bright lips in 5 (simple) steps
Step 1. Hydrate
When your lips are hydrated it creates the perfect base for longer lasting lip colour. I absolutely love the Runway Room Tinted Lip Primer for this – for a smooth, long-lasting finish. (This a great lip smoothing and hydrating product because it’s also glorious on its own. It has a subtle tint).
Step 2. Stain
For longer lasting lippy, instead of reaching for a ‘long-wear formula’ that sucks the life out of your lips (and is often full of nasties), I recommend a stain. It will help your lip colour last longer. You can use your finger or a brush to apply this. I used the hydrating, natural Ere Perez Beetroot Lip & Cheek Stain in Joy, which can be used on your lips and your cheeks.
Step 3. NUDE LIP LINER
Whenever I'm using a bright shade, I always take a nude lip liner and really get the shape of my lips right first, just going just outside the pink part of my lip line, and instead lining the slightly "whitish" line that borders my lips to create a bit of extra fullness without looking over the top or over drawn. Then use the lip pencil to colour in your whole lip. I love Kylie's Professional Lip Pencil in Earthy for this (one of my makeup bag staples ladies - she's the perfect nude lip pencil, and an essential item to have in your purse).
Tip for lipstick bleed (ARGH)
If you suffer from the dreaded lipstick bleed, you may worry that a bright lip is not for you. But cheer up sister, I have the product for you. The Runway Room Invisible Lip Definer Pencil is your secret weapon to help prevent lipsticks from bleeding into the cracks of your lips. She's not bulletproof (nothing is), but the waxiness of the clear pencil helps to create a border, fill in the cracks, and make it harder for colour to bleed. Ideally use this first, before applying the nude liner.
Step 4. bright lipstick
Now for the main event. Your beautiful, bold, bright lipstick. Just go for it! It’s gonna look great and I guarantee you will be a show-stopper. I recommend starting in the middle of your lips and working out slowly, using the nude line you just created as a guide.
For this look, I used Rageism Beauty Lipstick in the shade Scarlett. She’s a really beautiful, full coverage, genuinely hydrating true red that looks great on everyone. Yes, that includes you!
Red Lipstick Alternatives
If you fancy something a bit different, for a more modern vibrant lip look, I love Runway Room Lipstick in Entrepreneur, a vibrant orangey-red (pictured on the left) and The Governor, a vibrant Hot Pink/Fuchsia matte lipstick (pictured on the right).
Step 5. bright LIP LINER
For the finishing touch, I run a bright lip pencil around my lip line to sharpen up my lipstick, creating a more polished look. For this look I used the Mavala Lip Liner in Chic Orange. Available on its own or as part of The Ultimate Red Lips Duo (with the Scarlett lipstick).
And viola – a very simple-to-do beautiful bright lip, that looks amazing on you. 💋
Now, if a full coverage lipstick scares the pants off you, take a "baby step" and slick on a gloss over the Ere Perez Beetroot Stain, and ease yourself into the whole vibrant and bright lip vibe.
Watch the video tutorial
In this blog, I’ve just concentrated on how to do bold lips, but if you want to follow the entire look pictured – from bare face, to skin prep, to the grand bold lip finale – then click below for a full video tutorial.
Get the right makeup for you
Old makeup favourites not working anymore? You are not alone. Many of the products we loved in our 20s and 30s just aren’t made for mature skin. The colours can be a bit off for mature skin, and they often sit in our wrinkles and crinkles (argh). I have been there, and it’s one of the reasons I created Amanda Ramsay Makeup. All products in my store have been carefully selected because they work for over 40s skin. All have been tried tested and much loved by me, your over 40s makeup expert with more than 20 years in the makeup and beauty biz!
Book a ‘Quick Audit’ and together we will review your products and make tweaks and adjustments that will make a BIG difference to your makeup game.
Or, maybe you’d like to go a step further and get expert help creating a brand new makeup routine that suits you AND your (busy) life?
Which ever option you choose, your online beauty consult will be completely personalised and customised for you. Your top, most pressing beauty questions will be answered!
That's all from me for now.
Keep shining bright ladies.

Amanda Ramsay is a multi-award winning, over 40s makeup artist. You can find out more about her here.


Comments